FTC disclaimer: This post contains affiliate links and I will be compensated if you make a purchase after clicking on my link.
GPEdit.msc or Group Policy Editor is a handy tool for the Windows operating system which is easier to configure Windows settings.
Earlier, we used to approach Windows Registry for any type configuration needed. But, with the introduction of Group Policy Editor, the work becomes easier to configure any type of administrative setting, Windows setting and software settings.
In other words, we can say that Group Policy Editor acts as a configuration manager in Windows 10.
Is gpedit msc available in windows 10 home?
Unfortunately No, Group Policy Editor or GPEdit.msc is found to be missing in Windows Home Edition.
Group Policy Editor or GPEdit.msc is a part of Windows Pro, Enterprises and Education edition.
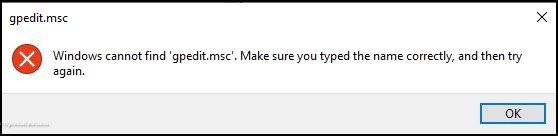
Whenever we try to launch Group Policy Editor with a command GPEdit.MSC using RUN, it will show the below message.
Pop up message:
Windows cannot find “gpedit.msc“. Make sure you typed the name correctly, and then try again.
Fortunately, there is a trick that we will discuss here how to enable GPEdit.msc or Group Policy Editor in Windows 10 Home Edition.
You can also enable Group Policy Editor by doing some changes to Registry Editor. But, we found it a lengthy procedure and also risky for the novice user.
To make the approach simpler, we will discuss a few methods below which you will find helpful.
Note: Before you do any changes to Windows, it is advisable to create a System Restore point. So, that if any thing goes wrong you can revert it back.
Enable Group Policy Editor in Windows 10 Home Edition
Method 1: Using DISM you can install Group Policy Editor
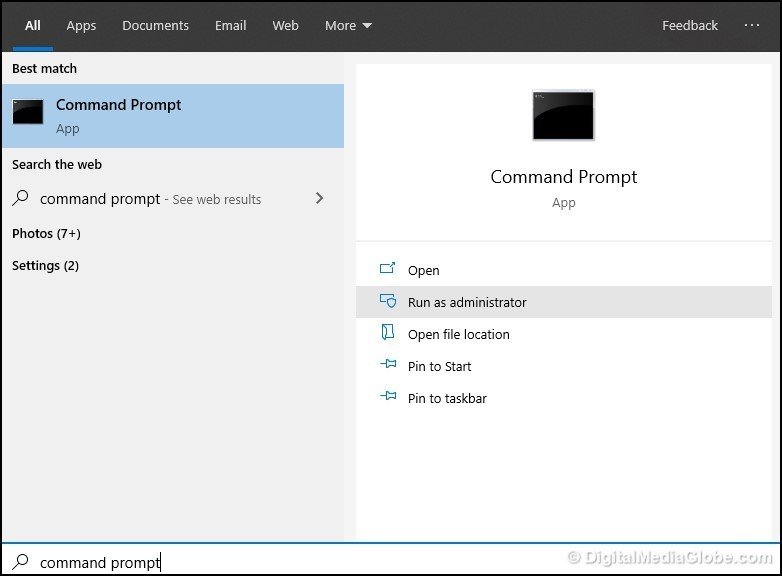
Step 1: Press Windows Key + S and type in Command Prompt. Now. click on “Run as adminstrator“.
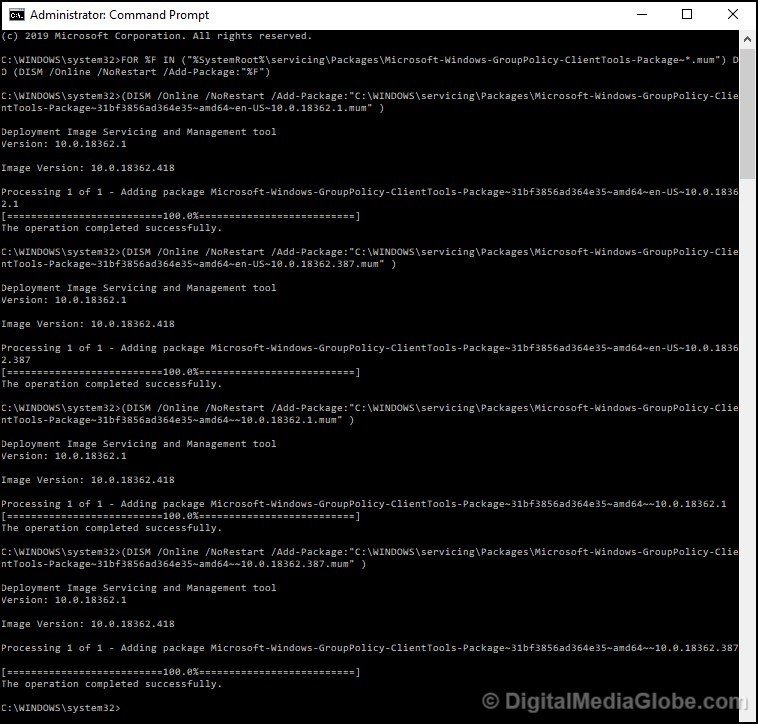
Step 2: You need to type following command and hit enter after each one.
FOR %F IN ("%SystemRoot%\servicing\Packages\Microsoft-Windows-GroupPolicy-ClientTools-Package~*.mum") DO (DISM /Online /NoRestart /Add-Package:"%F")
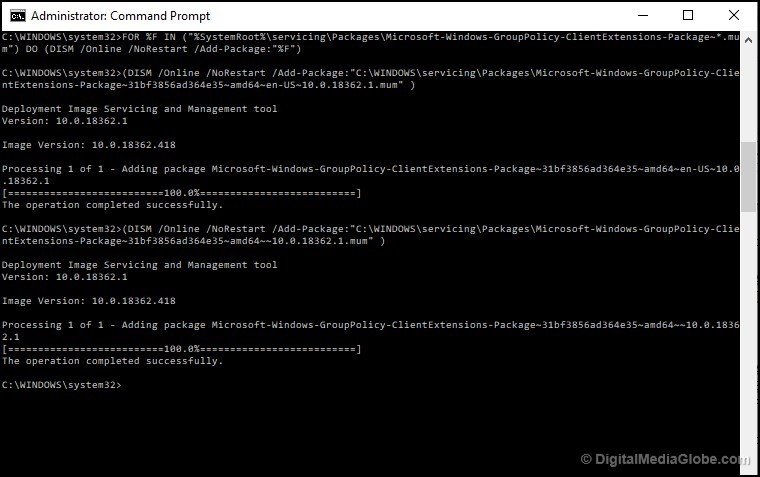
FOR %F IN ("%SystemRoot%\servicing\Packages\Microsoft-Windows-GroupPolicy-ClientExtensions-Package~*.mum") DO (DISM /Online /NoRestart /Add-Package:"%F")
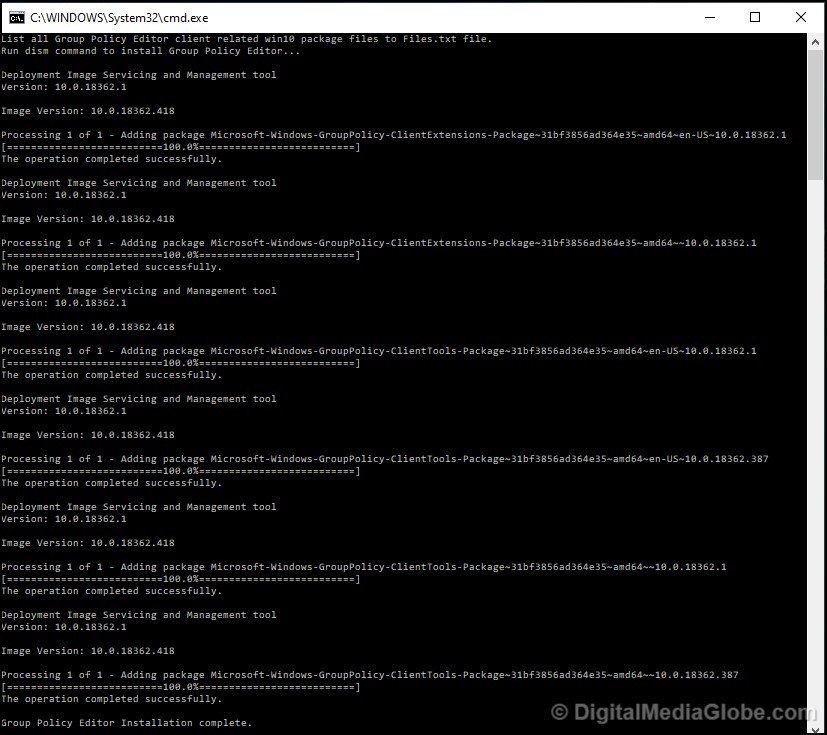
Step 3: You need to wait for all the processes to complete. Firstly, it will install the ClientTools package and then it will install the ClientExtention package.
Step 4: Now, Press Windows Key + R, and type in GPEdit.msc and launch Group Policy Editor.
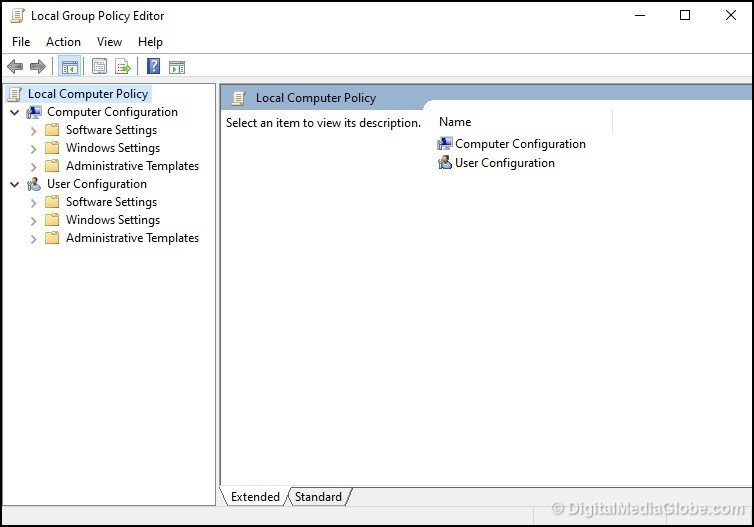
This method is fully functional and well tested. We will get Group Policy Editor as functional as in Windows 10 Pro, Enterprise and Student Edition.
Method 2: Using Bat file you can launch Group Policy Editor.
This method is also one of the easiest methods to enable GPEdit.msc.
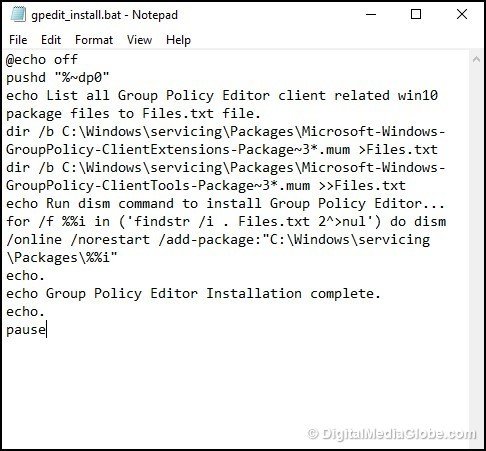
Step 1: You need to create a bat file. First of all, open Notepad and then copy and paste the below code. Next, you need to save it as gpedit_install.bat on a desktop.
@echo off
pushd "%~dp0"
echo List all Group Policy Editor client related win10 package files to Files.txt file.
dir /b C:\Windows\servicing\Packages\Microsoft-Windows-GroupPolicy-ClientExtensions-Package~3*.mum >Files.txt
dir /b C:\Windows\servicing\Packages\Microsoft-Windows-GroupPolicy-ClientTools-Package~3*.mum >>Files.txt
echo Run dism command to install Group Policy Editor...
for /f %%i in ('findstr /i . Files.txt 2^>nul') do dism /online /norestart /add-package:"C:\Windows\servicing\Packages\%%i"
echo.
echo Group Policy Editor Installation complete.
echo.
pause
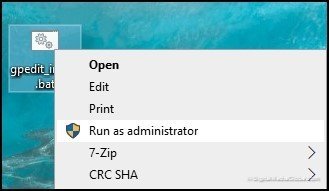
Step 2: Now, right-click on the bat file and click on Run as administrator.
Step 3: After all the process is completed, it will display a message “Group Policy Editor Installation Complete“.
This method too works correctly and has been tested well in Windows 10 Home Edition x86 and x64 based processor.
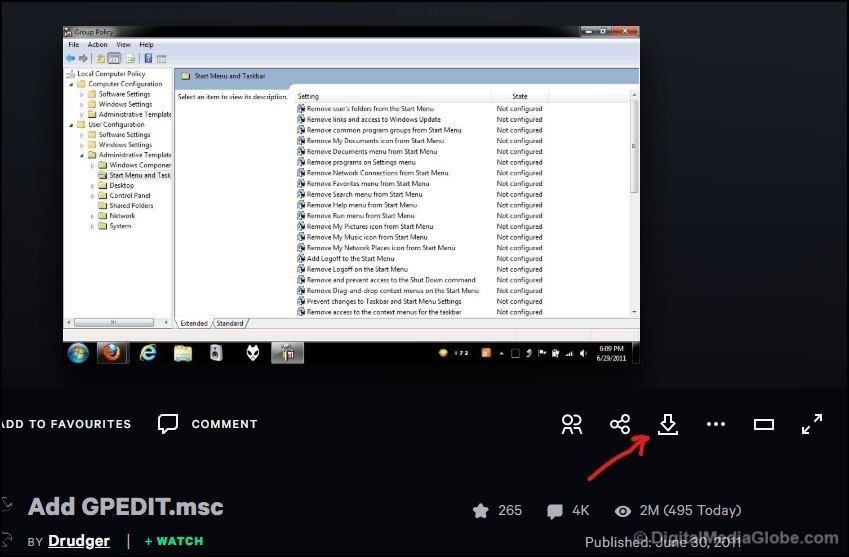
Method 3: Using third party executable file (in Deviant Art by Drudger)
This method is optional if you like to adopt it is up to you. Basically, this is an executable file that is written by Drudger and is currently available in Deviant Art.
This is also a long method and you may face some sort of problem which we will discuss below.
Step 1: You need to first download the zip file from Devian Art.
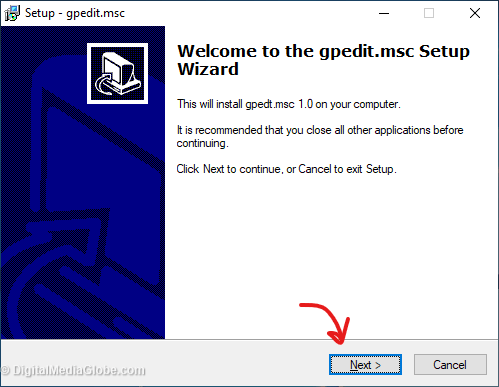
Step 2: Unzip the file and look for setup.exe file in a folder. Right-click and select Run as Administrator to start execution. You need to follow the on-screen instruction to continue with the instruction.
Remember: Don’t exist the installer by clicking on Finish.
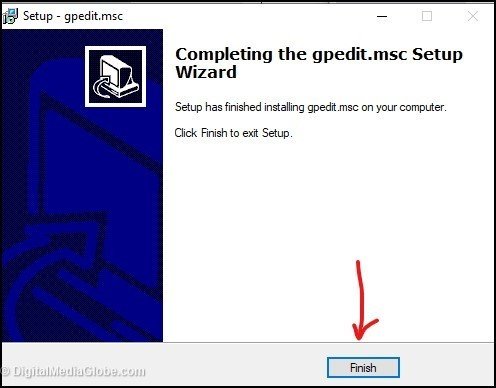
We have to do some other work before we exist installation.
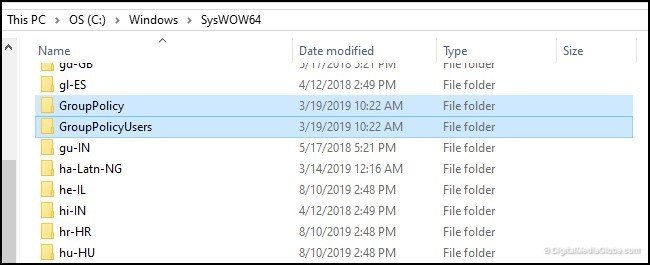
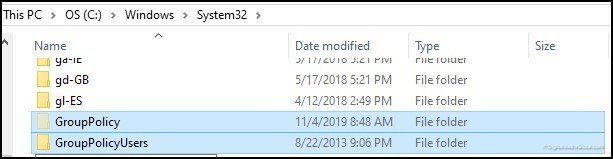
Step 3: Next, you need to head to C:\Windows\SysWOW64 and copy the following folders and file
- GroupPolicy Folder
- GroupPolicyUsers Folder
- GPEdit.msc file
If you find gpedit.msc file missing in SysWOW64 it means that you have not started the installation. Before installation, you won’t find gpedit.msc in SysWOW64
Step 4: Once you have copied, now you need to paste in System32 folder. So, head to C:\Windows\System32 and paste it here.
Step 5: Now, navigate to the folder C:\Windows\Temp\gpedit\. You will find two bat files. Next, right-click on x86.bat (for the 32-bit operating system) or x64.bat (for the 64-bit operating system) and open it on Notepad++ (download Notepad++ if you are not having it with you).
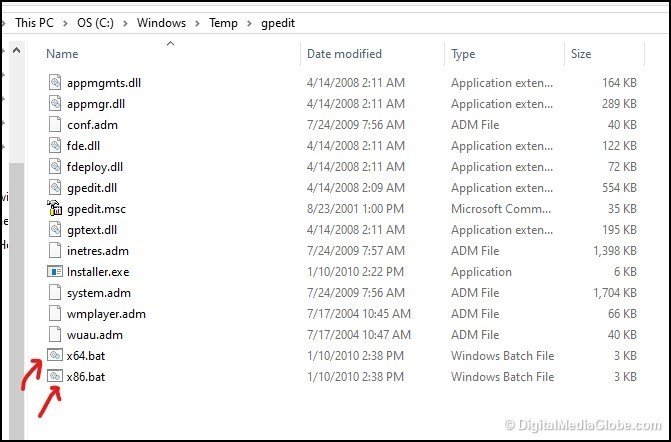
If you don’t know which bit operating system you are using then press Windows key + X and then click on System.
Step 5: Once you have opened in Notepad++, you will %username%. Now, press Ctrl + F and then click on Replace. You will have to replace %username% with "%username%" (Including the quotes) and save the file.
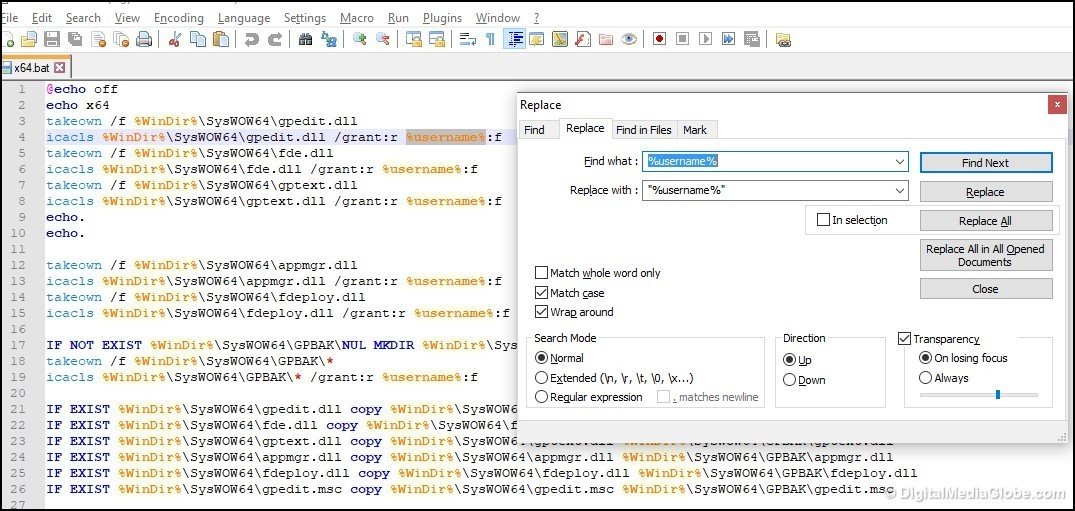
Step 6: Next, right-click on that file (which you have edited) and click on “Run as Administrator“.
If you are getting “MMC could not create snap-in” error, try replacing the "%username%" with "%userdomain%\%username%".
Step 7: Finally, you can now click on “Finish” to exit the setup.
We have discussed three methods to install gpedit.msc in Windows 10 Home Edition.
If you are still facing any problem or not getting the required result, you can comment below. We will try to figure out the problem and help you to solve it.