FTC disclaimer: This post contains affiliate links and I will be compensated if you make a purchase after clicking on my link.
You never know what will happen to your Windows Operating system at any point. To keep it safe and secure in Windows 10, System Restore is a very good option.
What is System Restore in Windows 10
System Restore is one of the system recovery tool that allows you to reverse back any changes made in Windows Operating system.
To increase the functionality of the Operating System, you may do some changes to the operating system. Also, in some cases you may get error that are difficult to resolve. In all these cases, System Restore plays a vital role to reverse it back to its original state.
Moreover, the major changes happen in system files while updating an operating system or driver or in the process of installing any application or software.
At any point of time, if any thing goes wrong, System Restore points, helps to recover it to its initial stage.
Furthermore, System Restore is one of the oldest yet most important system recovery tools
Where is System Restore in Windows 10?
System Restore in Windows 10 comes under Recovery. You can go to Recovery through Control Panel. Here, you can create and configure System Restore. System Restore is part of Advanced recovery tools in Windows 10.
How to open System Restore in Windows 10?
You can open System Restore on Windows 10 in multiple ways.
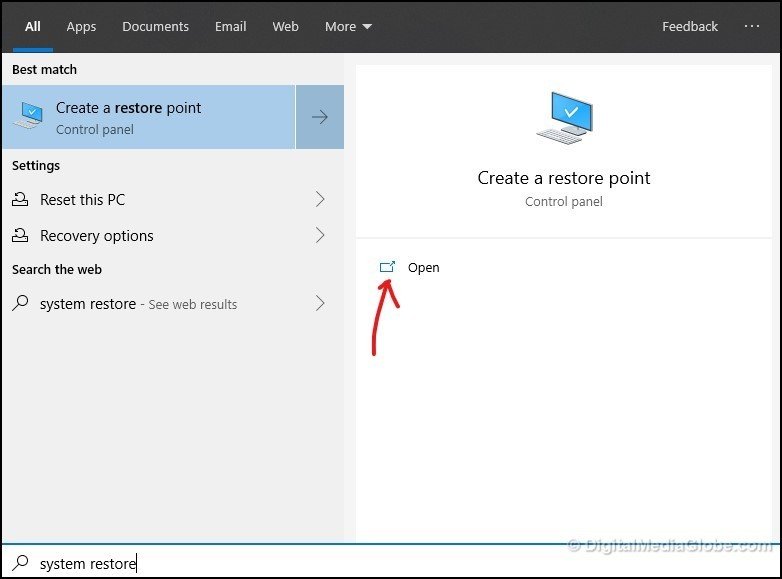
Method 1: Open System Restore through searching.
One of the simplest and quickest way to open System Restore in Windows 10 is through searching.
Press Windows key + S, and type in System Restore. Consequently, you will find “Create a restore point” which is under Control Panel, click on it. It will open System Restore in Windows 10
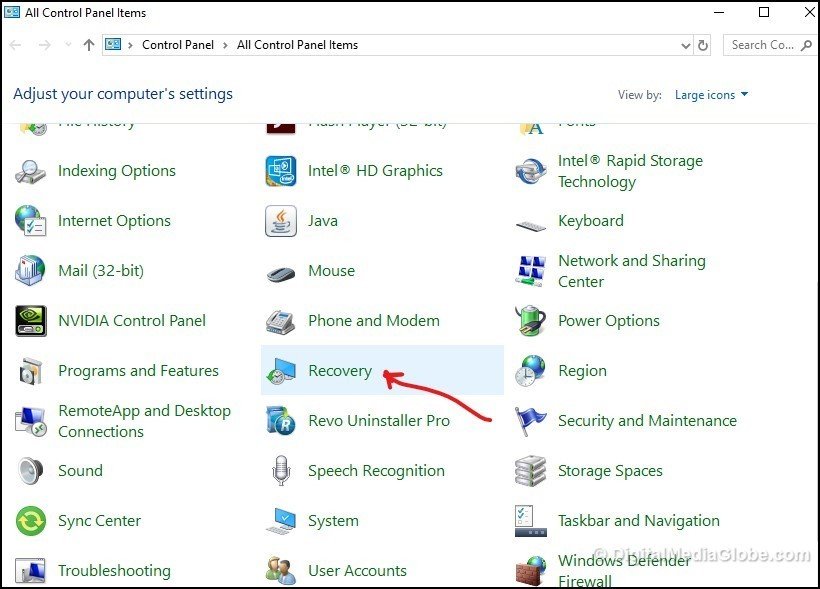
Method 2: Open System Restore through Control Panel
You have to open Control Panel in Windows 10 and then click on Recovery to open the System Restore.
Step 1: Press Windows key + I and type in Control Panel. In drop down, click on Control Panel to open it.

Step 2: In a Control Panel, click on “Recovery” to open an “Advanced recovery tools” for System Restore.
Method 3: Open System Restore through Run
Step 1: Press Windows key + R, and type in Control Panel and hit OK

Step 2: Again, click on “Recovery” to open “System Restore” which is in “Advanced recovery tools“.
How to enable System Restore in Windows 10?
You need to check whether System Restore is enabled in Windows 10. If it is disabled, there would be the reason that you have disabled System Restore earlier or it has been disabled while installing Windows.
So, to enable System Restore in Windows 10 follow the steps below.
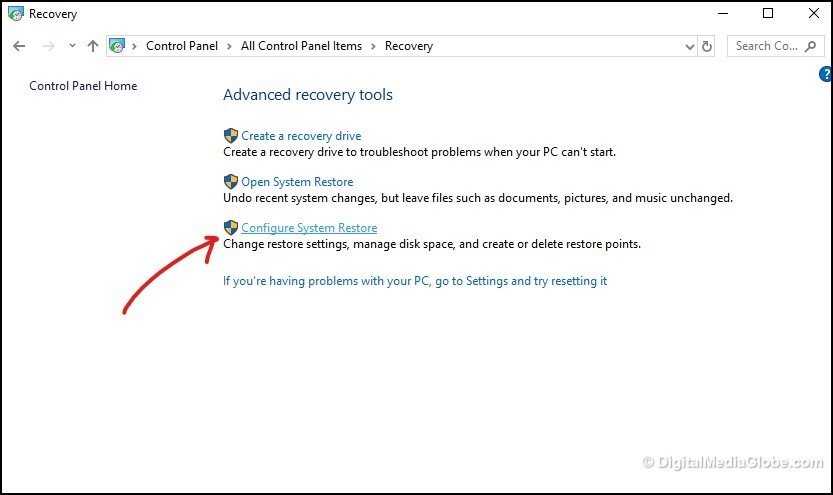
Step 1: Once you have opened “Advanced recovery tools“, click on “Configure System Restore“. It will open “System Properties” window.
Step 2: In “System Properties” window, click on “System Protection” tab and you will find “OS (C:) (System)” protection is “OFF“. In order to ON the protection, we have to click on “Configure“.
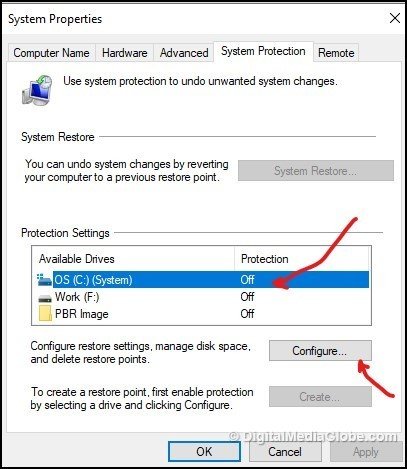
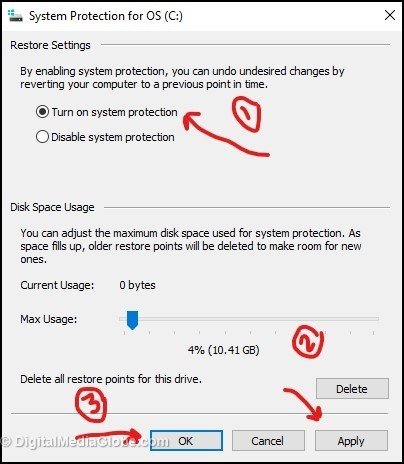
Step 3: In System Protection for OS (C:), you have to enable the system protection. For this, you need to click on “Turn on system protection” and then click on “Apply” for changes to take place.
In this way, you can enable the System Restore in Windows 10.
Note: Suppose, if System Restore was already ON and when you “Disable System Protection”, you will loose all your System Restore Points.
Manage Disk Space for System Restore in Windows 10
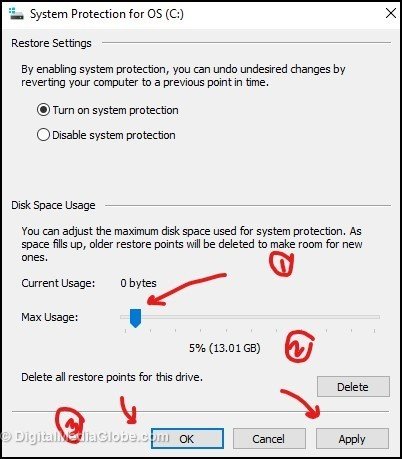
Windows 10 automatically manage the “Disk Space Usage” section to create System Restore Point. But, if you want to customize the space or want to allocate more space, you are free to do so.
You need to adjust the slider for disk space and then click “Apply” and OK
To create System Restore points automatically, you should enable System Restore in Windows 10. The automatic creation of System Restore points take place when any major changes take place such as updates.
Do I need to enable System Restore on drives other than C drive?
No, it is pointless!
System Restore points basically contains only specific system files such as DLLs, Windows Registry files and so on. All these files that participate in System Restore are present in “%SystemDrive%“. A %SystemDrive% is an environment variable in Windows present where Operating System was installed (Usually C:\).
So, if you will enable System Restore for other drives then there is nothing to backup as System Image.
Remember, System Restore in Windows 10 is not a substitute for proper backup plan.
How to create System Restore point on Windows 10?
Till this point we have taken all the necessary step that is necessary to create System Restore Point on Windows 10.
Now, we will discuss how to create System Restore Point in Windows 10.
For this, you need to follow the steps below.
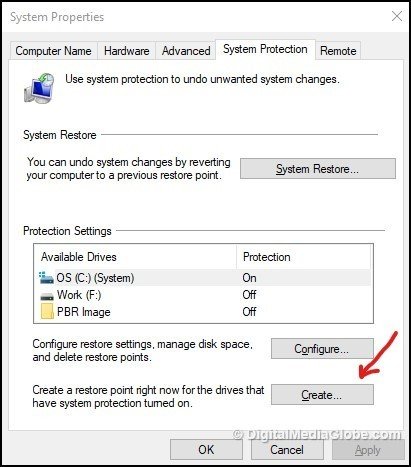
Step 1: In “System Properties” under “System Protection” tab, which we have opened previously by clicking on “Configure System Restore“, click on “Create” to start creating System Restore Point.
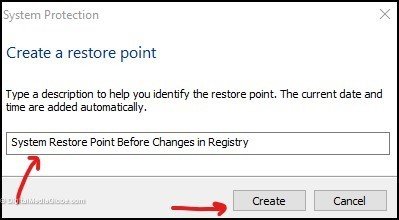
Step 2: A pop up dialog box will appear, you need to fill in description to help you identify the restore point. Moreover, System will automatically add current date and time to restore point. After that click on “Create” to start the process.

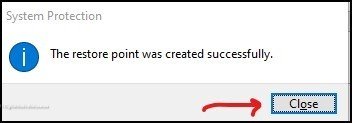
Step 3: Once it has completed successfully, it will display a message “The restore point was created successfully“.
Generally, Windows automatically create System Restore point in Windows 10. The above method which we have discussed is the manual method to create System Restore point in Windows 10.
How do I view my Restore Points in Windows 10?
To view System Restore points in Windows 10, you have to follow the steps below
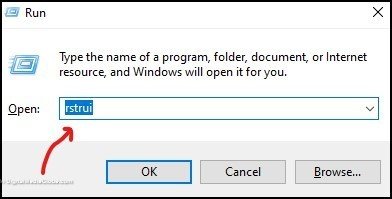
Step 1: Press Windows key + R to open Run and then type in “rstrui” and click OK to open “Restore system files and settings”
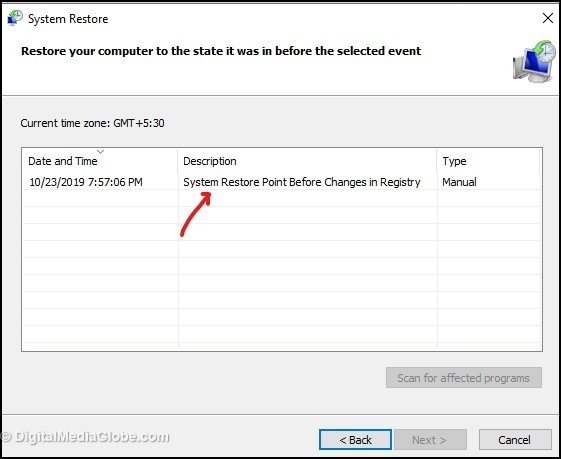
Step 2: In a “Restore system files and settings“, click “Next” to view stored files

Step 3: Here, you will see the list of System Restore files and the date and time when it was created.
Hope, you have learnt the complete guide to create System Restore on Windows 10.
If you find it difficult to process any of these steps, please comment below to help you solve your problem.