FTC disclaimer: This post contains affiliate links and I will be compensated if you make a purchase after clicking on my link.
When running a troubleshooter, you may experience an error such as “Windows Online Troubleshooting Service is disabled” and “Windows Online Troubleshooting Service is not enabled for this version of Windows.”.
This error may occur if you have done a recent Windows update.
While sometimes it looks like there is a problem with the virus. Also, you would have already checked by running antivirus and anti-malware software several times.
But, the problem remains unresolved.
So, to diagnose this problem we will follow some procedure which may help in rectifying the problem.
Windows Online Troubleshooting Service is disabled
Method 1: Run DISM tool
Step 1: Open RUN as an administrator. For this, you can press Win + S and type in “Command Prompt“.
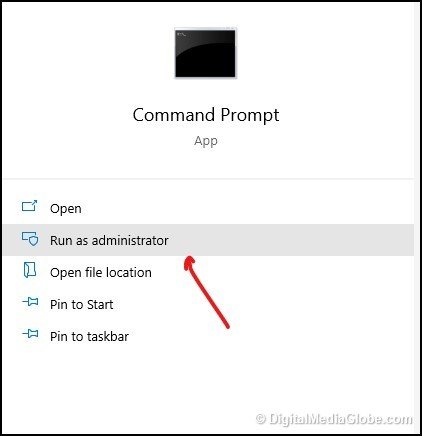
Step 2: Now, type in the below command or you can directly paste to it one by one. After each command enters and waits for the process to complete.
Dism /Online /Cleanup-Image /CheckHealth
Dism /Online /Cleanup-Image /ScanHealth
Dism /Online /Cleanup-Image /RestoreHealth
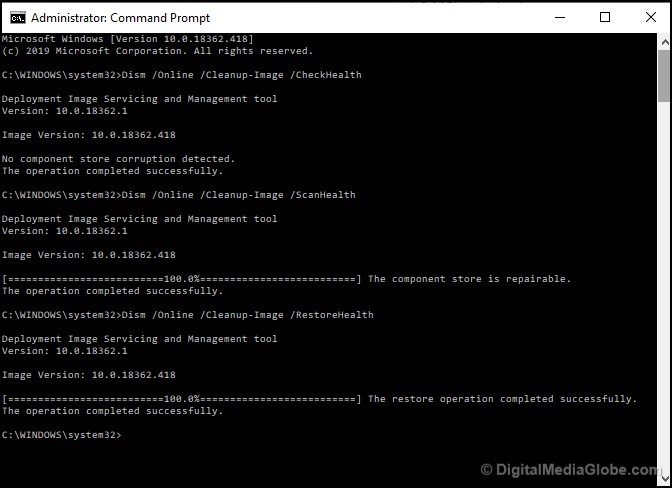
Step 3: Once all the processes completed successfully, you can restart the computer.
Method 2: Run System File Checker utility
Step 1: Open “command prompt” as administrator by pressing Win + S and type in command prompt.
Step 2: In the command prompt, type in “SFC /SCANNOW” and press ENTER. The process will take some time to evaluate it. Mostly, it will check for any integrity violations.
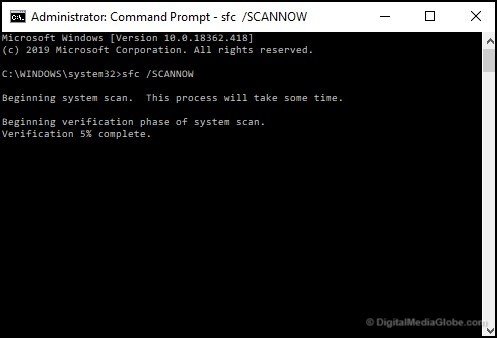
Step 3: After successful completion, it will show up the real cause and also include a log file for further verification. Now, restart your system for an effect.
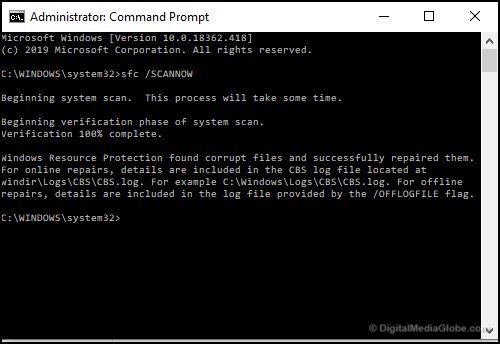
Here, as you can see it has also repaired the Windows Resource Protection file. Sometimes Windows Resource Protection interferes with System File Checker utility.
Method 3: Run Windows Update Troubleshooter
If it has not updated for a while or some component is missing then it shows the message “Windows online troubleshooting service is disabled.”
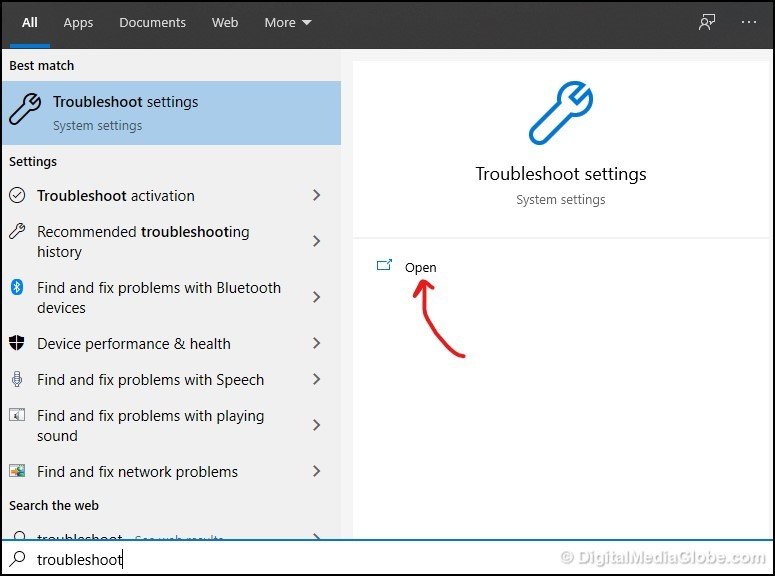
Step 1: You can run troubleshooter to fix most of the issue related to Windows OS. Here you need to open up Troubleshooter from Settings. For this, press Win + S and type in “Troubleshoot“.
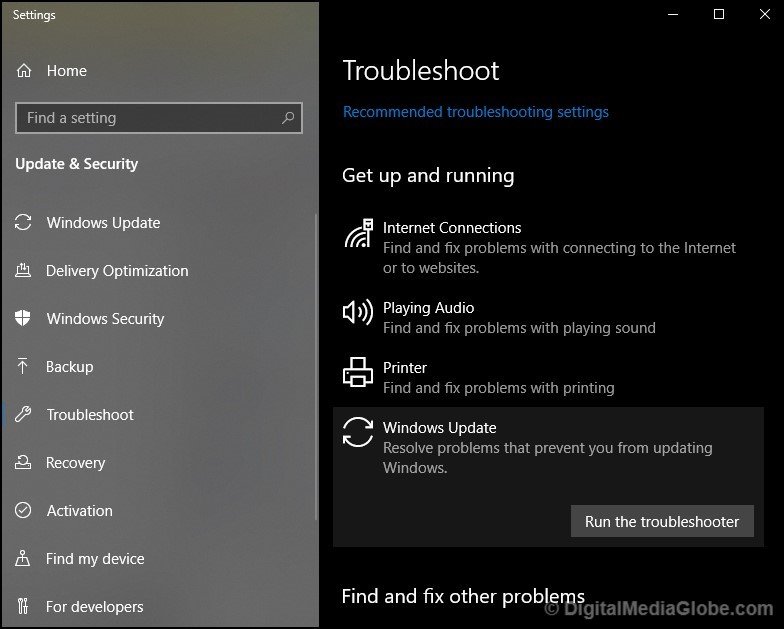
Step 2: Here, move to Windows Update and click on “Run the troubleshooter“.
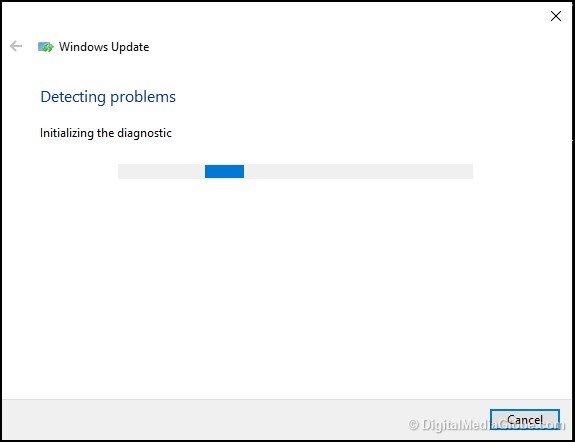
Step 3: Windows troubleshooter will start to diagnose your problem. If it found any, it will resolve it.
Method 4: Check for services running properly.
You can also check for local services that are running in the background. These services are necessary to run the “Windows online troubleshooting service“.
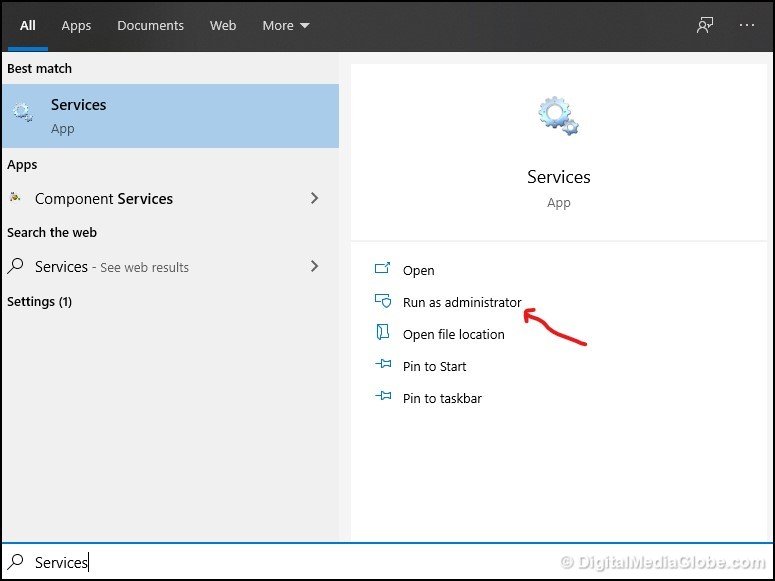
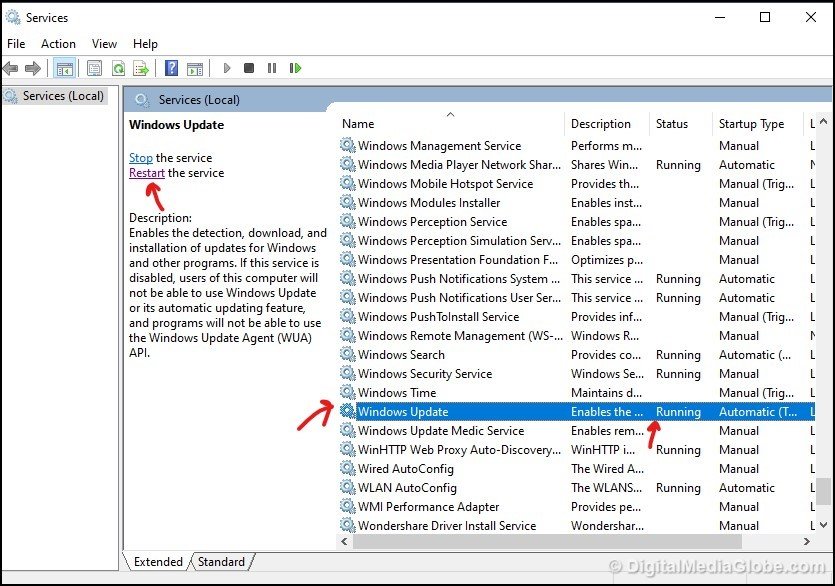
Steps 1: You can open Services by pressing Win + S and just type in “Services“. Next, open the Services as an administrator.
Step 2: Under Services, look for “Background Intelligent Transfer Service“. Check for status whether it is “running“. If not, you can restart the service.

Step 3: Under Services, also look for “Windows Update” service is running in the background or not. Sometimes, you would have stopped update service. You can click on “Restart” to start running.
We hope that the above method would have solved the error “Windows Online Troubleshooting Service is disabled”. If not, you can comment below for more clarification.


